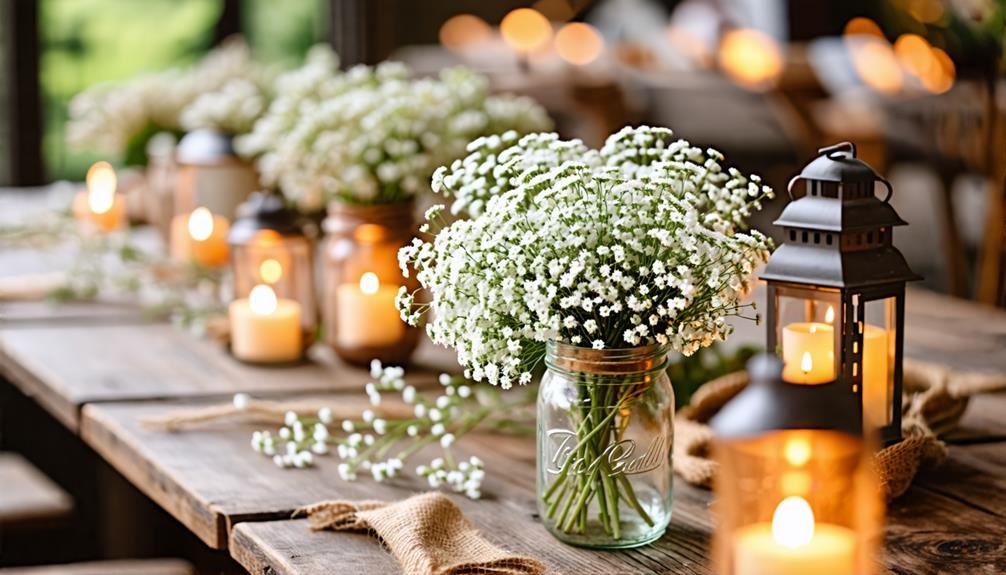
DIY rustic centerpieces showcasing baby's breath provide a sophisticated yet straightforward addition to home decor. Begin by selecting a suitable vase: opt for tall glass or slender ceramic designs with a slim neck for stability. Utilize floral foam to firmly secure the blossoms and keep them hydrated. When arranging, position smaller flowers at an angle for a more organic appearance and include natural tones for a rustic style. Consider incorporating textured materials like jute twine or vintage fabrics to enrich visual appeal. Lastly, maintain freshness by regularly changing the water and using floral preservatives. Further inspiration and detailed techniques are available to ultimately enhance your creations.
Choosing the Right Vase Style
When selecting a vase for your rustic centerpiece, it's essential to consider the height and shape to ensure it enhances the arrangement while showcasing your floral display. A tall glass cylinder can serve as an elegant backdrop for longer stems, allowing you to create a stunning focal point with a baby's breath arrangement. On the other hand, a slimmer ceramic vase can provide a less cluttered appearance, enabling each bloom to stand out individually.
Consider the neck of the vase as well; a narrower opening will secure the floral foam, ensuring stability for your arrangement. This is particularly important when using delicate flowers like baby's breath, which can easily be overshadowed in a wide vase. Additionally, selecting a vase with textured surfaces or earthy tones can enrich the rustic aesthetic, blending seamlessly with your home decor.
Ultimately, the right vase not only supports the floral arrangement but also enhances the atmosphere of your space, transforming your DIY rustic centerpiece into a true expression of your personal style. A thoughtfully chosen vase can elevate simple flowers into a breathtaking centerpiece that draws admiration.
Preparing Flower Foam
Preparing flower foam is an important step in creating a rustic centerpiece that effectively showcases delicate blooms like baby's breath. To guarantee stability and proper hydration, selecting the appropriate foam size and employing precise cutting techniques is necessary. Once the foam is cut to fit the vase, it should be securely inserted, providing a solid foundation for the arrangement while allowing for easy access to water.
Selecting Appropriate Foam Size
Choosing the right size of flower foam is essential for a secure fit in the vase, ensuring stability in your floral display. Properly sized foam enhances the overall look and simplifies the arrangement and upkeep of the flowers. To select the appropriate foam size, consider these vital aspects:
- Vase Measurements: Measure the width and depth of your vase to find the foam that fits snugly.
- Flower Varieties: Think about the types of blooms you plan to use; delicate flowers like gypsophila may need less foam compared to larger blossoms like peonies.
- Arrangement Preferences: Decide if you want a dense bouquet or a more open design, as this will affect the foam quantity required.
- Water Retention: Ensure the foam is sizable enough to hold water, providing essential hydration to the stems for extended freshness.
Cutting Techniques for Foam
Using precise cutting techniques is essential for shaping floral foam effectively to fit your selected vase, ensuring stability and optimal hydration for your flower arrangement. Begin by measuring the height and width of your vase, as these dimensions will guide your foam cutting process. Employ a sharp knife or a floral cutter, like the Fiskars Softgrip, to achieve clean cuts, which are vital for optimal water absorption and structural integrity.
For a snug fit, cut the foam into rectangular or square shapes that closely match the vase opening's dimensions. When cutting, apply firm yet gentle pressure to prevent any crumbling, which can undermine the foam's functionality. Additionally, consider creating notches on the foam's sides, allowing for improved water retention and easier insertion of stems.
It's advisable to cut the foam slightly larger than needed, as you can always trim it down. This method reduces the risk of cutting too small, which could lead to instability in your arrangement. By mastering these cutting techniques, you enhance the overall appearance of your centerpiece while ensuring that your blooms, like roses or lilies, receive the hydration they need to flourish.
Inserting Foam Into Vase
After confirming the floral foam is trimmed to fit the vase, the next step involves carefully inserting the foam into the container to create a stable base for your arrangement. This foundation is crucial for supporting the delicate blooms of Gypsophila and achieving a polished centerpiece. When preparing to insert the foam, consider the following steps:
- Fill the Vase with Water: Before placing the foam, fill your glass vase with fresh water to keep the flowers hydrated.
- Position the Foam: Gently push the foam into the vase, ensuring it fits snugly within the vase's neck. This will prevent it from floating.
- Secure the Foam: If necessary, use Oasis floral adhesive to keep the foam in place, especially if the vase is taller or has a narrow opening.
- Trim Excess Foam: After inserting, check for any surplus foam that might disrupt the arrangement's aesthetic and trim as needed.
Arranging Tiny Blooms
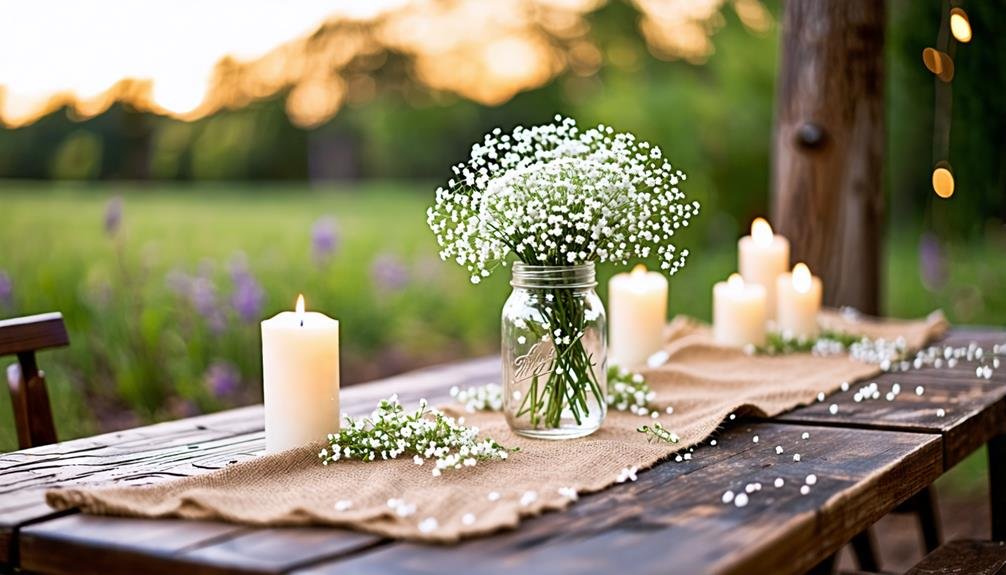
Arranging tiny blooms, such as baby's breath, requires careful selection of flowers and preparation of the foam to guarantee a visually appealing centerpiece. Begin by choosing delicate blooms that complement the entire design, followed by cutting the foam to fit snugly within your chosen vase. Once the foam is prepared, strategically insert the smaller blooms, allowing for an artful arrangement that balances aesthetics and freshness.
Choosing Your Flowers
Selecting the right petite blooms is crucial for crafting a charming and visually pleasing rustic centerpiece that embodies natural beauty. When picking your flowers, explore various options to enhance the overall look while keeping it uncomplicated. Here are some helpful tips to assist you in choosing the most fitting flowers:
- Focus on Size: Choose smaller flowers, such as Gypsophila (baby's breath) or Genista, which add a gentle touch without overshadowing the arrangement.
- Color Harmony: Strive for a unified color palette by coordinating the small blooms with larger statement flowers. Utilizing seasonal hues can contribute to an organic vibe, making your centerpiece resonate with nature.
- Texture Mix: Blend diverse textures in your flower selection. Pairing light, airy blooms with sturdier options can create visual intrigue and depth.
- Aromatic Appeal: Elevate the sensory experience by incorporating fragrant varieties like Lavandula (lavender) or Cinnamomum (cinnamon), subtly enriching the atmosphere with delightful scents.
Preparing the Foam
To create a stable foundation for your delicate flowers, begin by trimming the floral foam to fit snugly within the opening of your chosen vase, such as a mason jar or ceramic container. A secure fit is crucial, as it will support your arrangement and prevent the foam from floating or shifting once water is added. It's best to press the foam down about a quarter of the way into the vase to ensure it is anchored effectively.
Once you have the proper fit, fill the vase with water before inserting the foam. This step is essential for keeping your blooms, like gypsy flower or waxflower, hydrated and prolonging their beauty. When adding smaller flowers, remember to insert them stem first into the foam for optimal stability. This approach helps the flowers maintain their natural shape and vibrant appearance.
Consider the arrangement's overall design; the goal is to create a harmonious display that accentuates the fragile allure of the smaller blossoms. By taking the time to prepare the foam properly, you lay the groundwork for a breathtaking rustic centerpiece that enhances your home decor. With a solid base established, you're ready to arrange your beautiful flowers.
Arranging the Blooms
With the floral foam from Oasis securely positioned and hydrated, the next step involves thoughtfully placing your petite blossoms to create a balanced and visually appealing arrangement. The delicate nature of flowers like Gypsophila, commonly known as baby's breath, allows for an effortless, airy design that embodies rustic charm. To achieve this, consider the following guidelines:
- Insert Smaller Blooms: Begin by inserting petite flowers into the foam, ensuring the stems are angled slightly for a natural look.
- Layering Technique: Employ a layering technique to build dimension, starting with the tiniest blooms at the base and gradually adding larger stems toward the top.
- Circular Arrangement: Aim for a circular composition, allowing blossoms to radiate outward from the center, which creates an inviting focal point.
- Adjust as Needed: Step back frequently to assess the arrangement's balance and make adjustments as necessary, ensuring harmony among the diverse elements.
Enhancing Rustic Aesthetics
Incorporating organic elements and textured materials can significantly enhance the rustic appearance of your DIY centerpiece. Start by selecting a vase that fits the rustic theme; glass, ceramic, or weathered metal are great options. These materials enrich visual appeal and create a sense of authenticity. Additionally, embracing textures through burlap, twine, or reclaimed wood can amplify the overall rustic charm.
When arranging your centerpiece, pay attention to the height and shape of your blooms. Long-stemmed flowers present an elegant silhouette, while compact arrangements provide a warm, inviting feel. Baby's breath, with its delicate and airy presence, is an excellent choice to soften the overall look.
Furthermore, decorative accents such as lace, jute, or wildflower touches can add a distinctive flair. These elements can be woven into the vase design or incorporated into the surrounding decor. Regularly replacing wilted flowers keeps the arrangement fresh and vibrant, preserving the centerpiece's rustic allure. By thoughtfully combining these natural components and materials, your DIY centerpiece will not only reflect a rustic aesthetic but also convey a harmonious connection with nature.
Coordinating Color Palettes
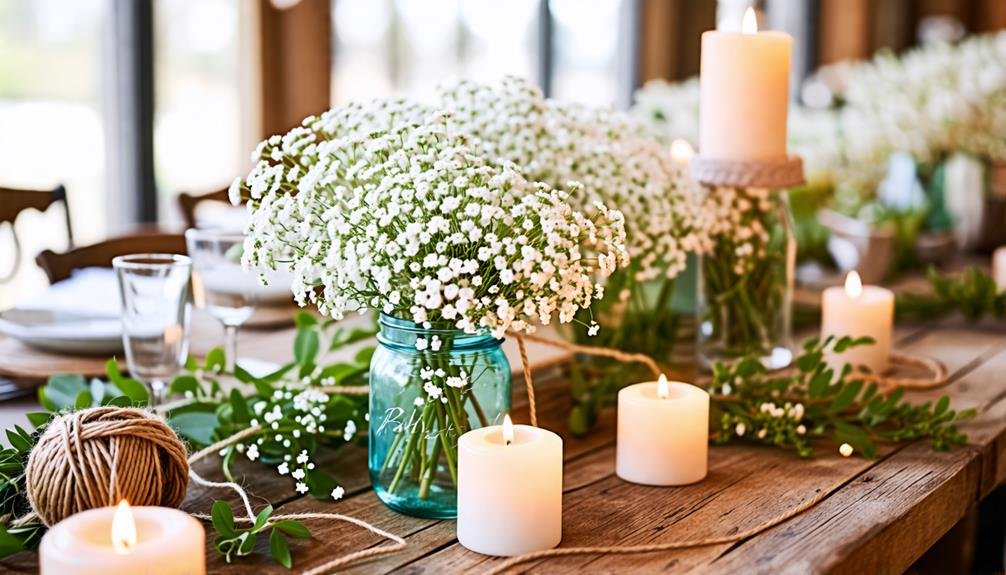
Selecting a harmonious color palette is essential for enhancing the rustic charm of your DIY centerpiece, complementing the organic elements and textures already present. A well-coordinated color scheme can elevate your arrangement, making it a standout feature in your home. Here are four key considerations for achieving a cohesive look:
- Natural Tones: Use earthy shades like muted olive, soft chestnut, and warm ivory to reflect the beauty of nature and create a grounding impact.
- Highlight Colors: Select one or two accent shades that complement your overall decor, such as deep merlot or burnt sienna, to introduce visual interest without overpowering the arrangement.
- Seasonal Palette: Incorporate seasonal shades to enhance the atmosphere. Spring may call for soft pastels, while fall could evoke deeper, richer colors.
- Texture Variation: Combine smooth floral elements with rougher materials, like burlap fabric or wooden accents, to create depth and intrigue in your centerpiece, allowing colors to stand out against diverse textures.
Incorporating Scented Elements
Enhancing your rustic centerpiece with fragrant elements not only elevates its visual charm but also provides an enchanting sensory experience. Incorporating scents like cinnamon, lavender, or eucalyptus can enrich your environment, creating a welcoming atmosphere for both family and visitors.
To achieve this, consider adding small sachets filled with these aromatic botanicals within the arrangement. Integrating dried herbs or scented oils, such as those from Young Living or doTERRA, ensures they harmonize with the floral components of your centerpiece. For example, pairing delicate baby's breath with sprigs of lavender not only creates a striking visual contrast but also fills the air with a soothing aroma.
Furthermore, using essential oil diffusers or candle brands like Yankee Candle can enhance the sensory experience while keeping the rustic aesthetic intact. Scents like vanilla or sandalwood can evoke warmth, making the space feel more inviting. It's important to balance the fragrance strength; overpowering scents may detract from the centerpiece's beauty. By thoughtfully incorporating scented elements, you not only enrich the visual appeal but also enhance the overall ambiance, inviting a sense of comfort and tranquility into your home.
Adding Finishing Touches
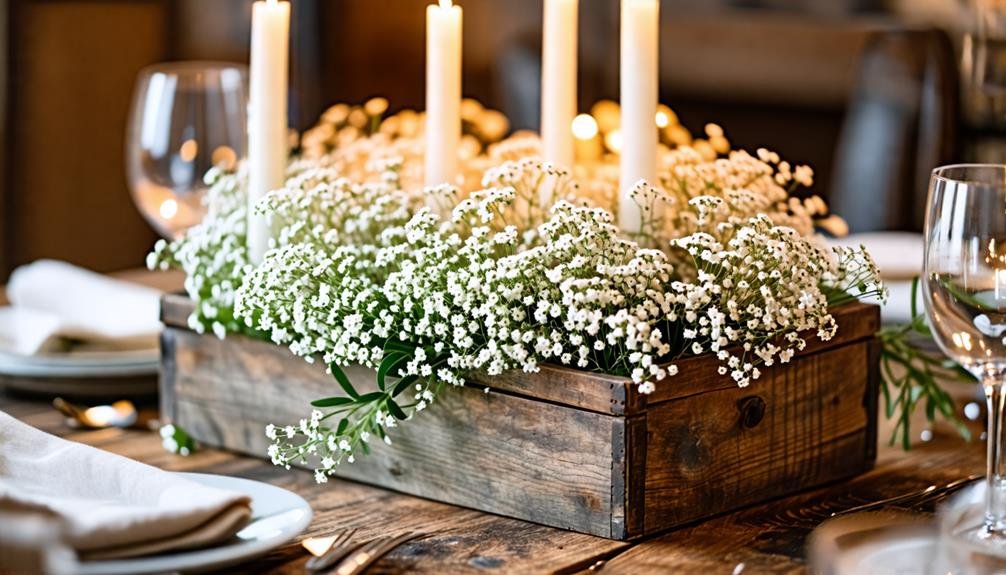
To enhance the overall aesthetic of your rustic centerpiece, consider adding a variety of finishing touches that elevate its visual charm and thematic unity. These details can elevate your arrangement from basic to remarkable, enriching its appeal and harmonizing with your decor.
- Wrap the Vase: Use a canvas or silk ribbon to encircle the glass vessel, effectively hiding the floral foam while introducing texture.
- Incorporate Natural Elements: Tie a piece of jute twine around the glass for a rustic accent that complements the natural beauty of the blooms.
- Utilize Fabrics: Consider using vintage scarves or bandanas, which can evoke a farmhouse-inspired aesthetic and introduce patterns that blend with your home's style.
- Ensure Cohesion: Match the fabric you select to the overall design of your living space, creating a seamless integration that enhances the centerpiece's role as a focal point.
Maintaining Freshness
Keeping the charm of your rustic centerpiece intact is essential for its allure and durability. To maintain this, swap out withered blossoms consistently, ideally on a weekly basis. This approach not only enhances the visual appeal but also ensures that the display remains lively and welcoming.
When managing your arrangement, pay attention to the quality and temperature of the water. Utilizing room temperature water promotes optimal hydration and rejuvenates the display. Additionally, trimming the stems of your flowers at an angle before placing them in the vase aids in improved water uptake.
It's advisable to eliminate any foliage that might dip into the water, as decomposing leaves can foster bacterial growth, threatening the freshness of the whole arrangement. For added longevity, consider using floral preservatives from brands like Floralife, which can typically be found at craft retailers or online. These supplements nourish the blossoms and extend their lifespan.
Exploring Seasonal Variations
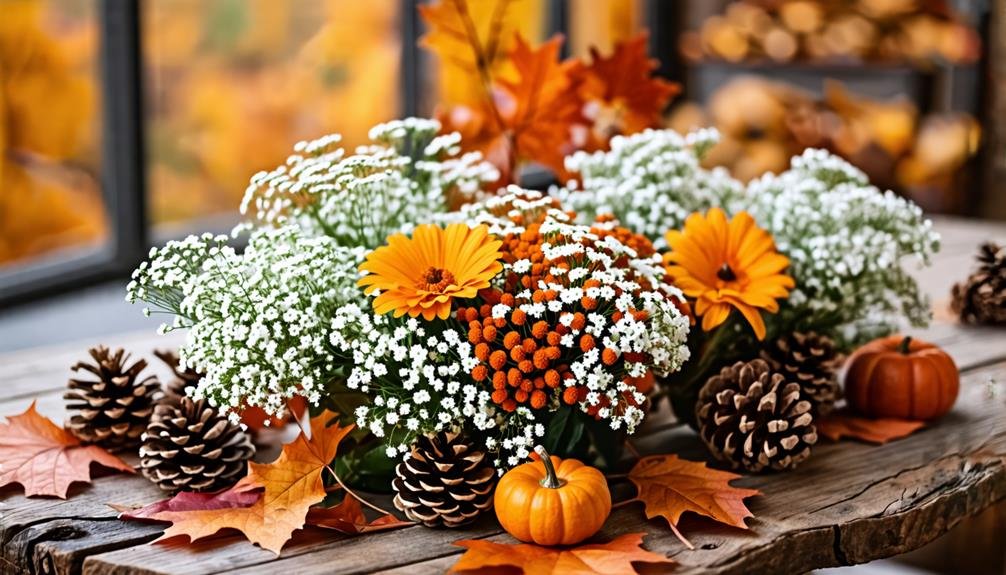
Incorporating seasonal variations into your rustic centerpiece can enhance its charm and relevance throughout the year. Adapting your arrangements to reflect the changing seasons not only revitalizes your décor but also celebrates nature's beauty in its diverse forms. Here are four suggestions to achieve this:
- Spring: Use pastel shades with Gypsophila paired with Tulipa or Bellis to evoke a fresh, lively atmosphere.
- Summer: Incorporate vibrant colors such as Helianthus and Zinnia, complemented by the delicate blooms of Gypsophila for a sunny, cheerful centerpiece.
- Autumn: Embrace earthy tones by incorporating deeper hues like burgundy and burnt orange with rustic elements such as Pinus cones or Quercus acorns, alongside the soft white of Gypsophila.
- Winter: Create a cozy vibe using evergreen sprigs and metallic accents, with Gypsophila as a delicate contrast, perfect for holiday gatherings.













You must be logged in to post a comment Login