Turning a Dollar Tree pencil holder into a trendy propagation station is both easy and beneficial. Start by cleaning the holder with warm, soapy water, then gently sand the surface for improved paint adhesion. Utilize spray paint specially formulated for plastic, exploring finishes like matte or shiny to match your decor. After painting, place your holder in a well-lit spot and fill it with water and rooting hormone. Label each plant for identification. To sustain growth, maintain ideal moisture and light levels. This DIY project not only increases visual appeal but also enriches your plant care routine, unveiling additional thrilling possibilities.
Materials Needed for the Project
To create a chic plant growth station using Dollar Tree pen holders, you will need essential items, including the pen holders, spray paint, rooting hormone, and water. Choosing the right pen holders is crucial, as they will form the base of your DIY project. For spray paint, opt for a brand that adheres well to plastic for a lasting finish. You can achieve various finishes like matte, glossy, or textured, allowing for a personalized touch that matches your aesthetic.
Before painting, thoroughly clean the plastic with soap and water to eliminate any residues that might hinder adhesion. Lightly sanding the surface can enhance paint durability, providing a better surface for bonding. After painting, fill the holders with water mixed with rooting hormone, which accelerates the growth of plant cuttings placed inside.
These materials not only help create an attractive plant growth station but also reflect the principles of economical, creative solutions. With these Dollar Tree DIY pen holder ideas, you can transform ordinary storage items into functional and stylish displays for your plant propagation endeavors.
Preparing the Pencil Holder
Preparing the pencil holder is a crucial initial step in transforming it into a chic propagation station. Begin by cleaning the container thoroughly with soap and water to guarantee proper adhesion of paint, followed by lightly sanding the surface to boost durability. Selecting the right paint, particularly one designed for plastic, will further contribute to a long-lasting and visually attractive result.
Cleaning the Container
Cleaning the container thoroughly with Dawn dish soap and warm water is crucial for ensuring that paint adheres properly to the plastic surface of your pencil holder. Start by rinsing the holder under warm water to eliminate any dust or debris. Then, apply a small amount of Dawn to a soft sponge or cloth and scrub the entire surface, paying special attention to greasy or discolored areas. This step is essential because any leftover residue on the container can significantly impede the paint's ability to bond effectively.
After scrubbing, rinse the pencil holder under clean water to wash away all soap remnants. It's vital to ensure that no soap residue remains, as this can also affect the paint's adhesion. Once rinsed, dry the container thoroughly with a lint-free cloth or let it air dry completely. This preparation not only paves the way for a successful painting process but also enhances the overall appearance of your propagation station. By taking the time to clean the container carefully, you lay the foundation for a project that transforms an ordinary pencil holder into a chic and functional addition to your home decor.
Surface Preparation Tips
To achieve a polished and lasting finish on your pencil holder, effective surface preparation is key. Start by thoroughly washing the pencil container with dish soap and warm water to remove any dust or residues that could interfere with the adhesion of acrylic paint. Once it's clean, let it dry completely.
Next, use fine-grit sandpaper, such as 220-grit, to lightly scuff the surface of the plastic. This step is crucial as it creates tiny abrasions that enhance the bond between the paint and the plastic. Be gentle while sanding to preserve the integrity of the container.
After sanding, take a microfiber cloth and wipe down the pencil holder to remove any dust particles. Allow it to air dry before proceeding to the painting stage. By meticulously preparing your pencil holder, you lay the groundwork for a stunning propagation station that not only looks impressive but also withstands the test of time.
Choosing the Right Paint
Choosing the right paint is crucial for ensuring a lasting and attractive finish on your pencil holder. For this DIY project, select a paint designed for plastic surfaces, as this enhances the durability of your creation. Brands like Rust-Oleum and Krylon offer spray paints that are particularly effective, featuring a range of finishes such as matte, glossy, and textured options like stone or terra cotta.
Before you start painting, it's important to prepare the surface. Clean the pencil holder with soap and water to remove any residues that could interfere with adhesion. For improved durability, lightly sand the surface to create a rough texture, allowing the paint to adhere better.
After preparation, pick a color that aligns with your aesthetic preferences. A vibrant color can make a bold statement, while gentle pastels can create a soothing atmosphere in your workspace. When applying paint, use several thin coats for an even result, allowing each layer to dry completely before proceeding to the next. This careful method will ensure your pencil holder not only looks stunning but also endures over time as a functional decor piece.
Painting Techniques for Customization

Utilizing various painting techniques can significantly enhance the visual appeal of Dollar Tree pencil holders, transforming them into unique and fashionable propagation stations. One effective method is spray painting, which provides different finishes such as matte, glossy, or textured. It is important to clean the surface with soap and water before painting to ensure proper adhesion. For added durability, lightly sanding the plastic surface can improve paint grip.
Choosing the right paint is essential; opt for products specifically designed for plastic surfaces to achieve lasting results. Techniques like ombre or sponge painting can create captivating color transitions and textures, enhancing the aesthetic of the holders. Additionally, incorporating stencils allows for detailed designs, giving each propagation station a personal flair.
For those aiming for a rustic aesthetic, a faux stone finish can be achieved with specialized spray paints from brands like Rust-Oleum. Experimenting with a variety of colors and techniques not only customizes your propagation station but also serves as a creative outlet. Ultimately, these painting methods can transform ordinary pencil holders into stylish displays that showcase the beauty of plant propagation.
Setting Up the Propagation Station
To create an effective propagation station, utilize repurposed Dollar Tree pencil holders for an organized and visually appealing display. First, select a bright location that offers indirect sunlight to ensure optimal growth conditions for your plant cuttings. Next, gather your cleaned and dried pencil holders, preferably painted for a personal touch.
Fill each holder with water, ensuring there is enough room for the plant cuttings to thrive. Consider adding rooting hormone to the water to enhance root development. For a cohesive look, arrange the holders in a symmetrical layout, either on a shelf or mounted on a wall using suction cups or hook-and-loop fasteners.
To keep everything tidy, label each holder with the respective plant type using small tags or decorative labels. Regularly check the water levels, topping off when needed, and monitor root growth to maintain the health of your cuttings. By following these steps, you'll establish a stylish propagation station that not only fosters plant growth but also enhances your living space with vibrant greenery and creativity.
Display Ideas for Your Plants
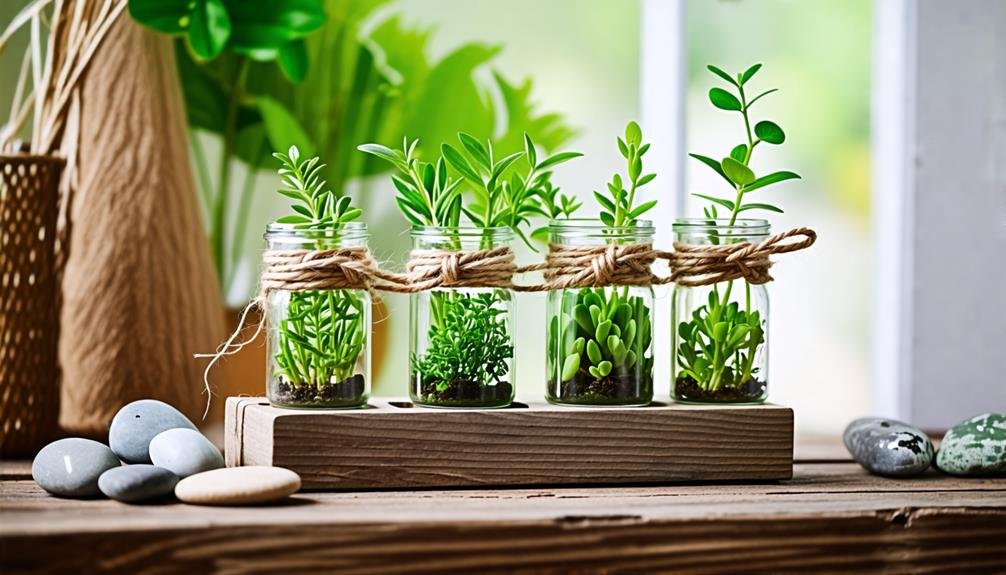
When displaying your propagated plants, there are several creative options to explore. Hanging arrangements can maximize vertical space and add an eye-catching element to your decor, while colorful container groupings can enhance visual interest through contrast and cohesion. Moreover, themed displays, like herb propagation near the kitchen, can create a functional yet stylish environment that boosts your home aesthetics.
Creative Hanging Options
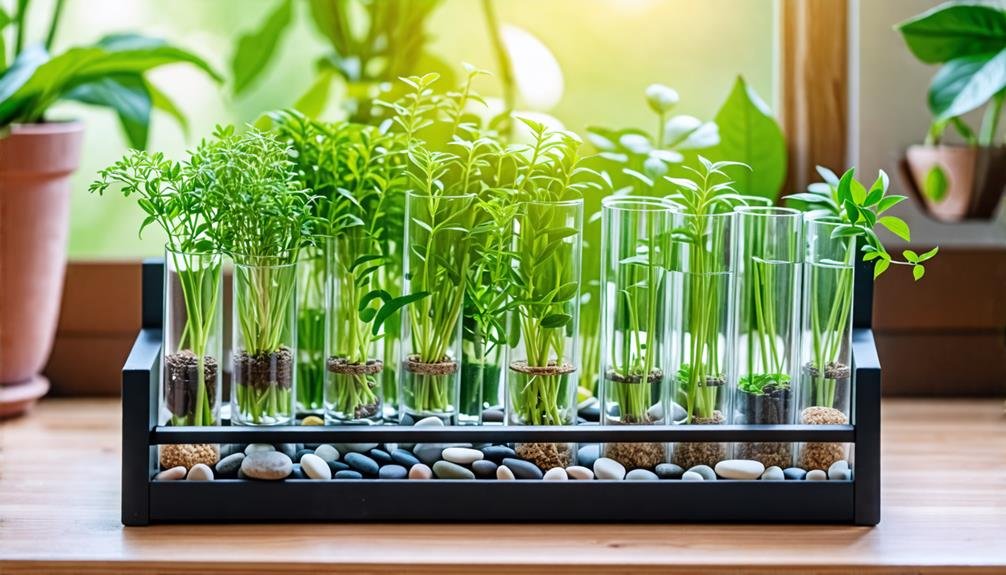
Exploring various creative hanging choices can enhance the visual appeal of your plant propagation station while maximizing vertical space in your home. One effective option is to utilize suction cup-mounted pencil holders from brands like Command, which adhere to windows and tiles, allowing sunlight to nourish your cuttings. The transparent nature of these holders not only showcases the roots as they develop but also maintains a clean aesthetic that complements any decor.
Another innovative approach involves using macramé hangers, which add a touch of bohemian charm. These can be crafted easily or purchased from retailers like Etsy, providing an elegant way to suspend your pencil holders from ceilings or wall hooks. For a more industrial touch, consider utilizing metal chains or wire grids from Home Depot, which allow you to create a dynamic display that can be adjusted as your plants grow.
Lastly, magnetic strips offer a unique solution for those with limited surface area. By attaching magnetic containers to metal surfaces like refrigerators, you create a functional yet stylish propagation station. Each of these hanging options not only enhances your plants but also encourages creative expression of your personal style within your living space.
Colorful Container Arrangements
Vibrant container displays can enhance the visual appeal of your plant propagation area, turning it into a stunning centerpiece in your home. By choosing a mix of pots in various shades and dimensions, you can craft a captivating arrangement that enhances your interior design. For instance, pairing soft pastel containers with bold primary colors creates a whimsical vibe, while a collection of containers in the same color family offers a chic and elegant aesthetic.
Incorporating transparent glass vases alongside painted terracotta pots allows you to showcase the root systems of your plants. This clarity not only emphasizes growth but also introduces a lively aspect to your setup. Arranging containers at different heights fosters visual interest, drawing attention to the full display.
Moreover, adding decorative elements like river rocks or colored marbles at the bottom of your pots can enhance their charm. These embellishments serve both decorative and practical purposes, offering stability for your plants while enhancing the overall look. Ultimately, a thoughtfully arranged selection of colorful containers provides a canvas for personal creativity and expression, cultivating a cheerful and welcoming atmosphere in any room.
Themed Display Ideas
A themed exhibition can enhance the visual appeal of your plant propagation area, transforming it into a cohesive and striking element of your home decor. To craft an engaging environment, select a color palette that corresponds with your overall design theme. For instance, if your dwelling embodies a coastal aesthetic, choose hues of azure and sandy beige, utilizing painted pencil holders that reflect these colors.
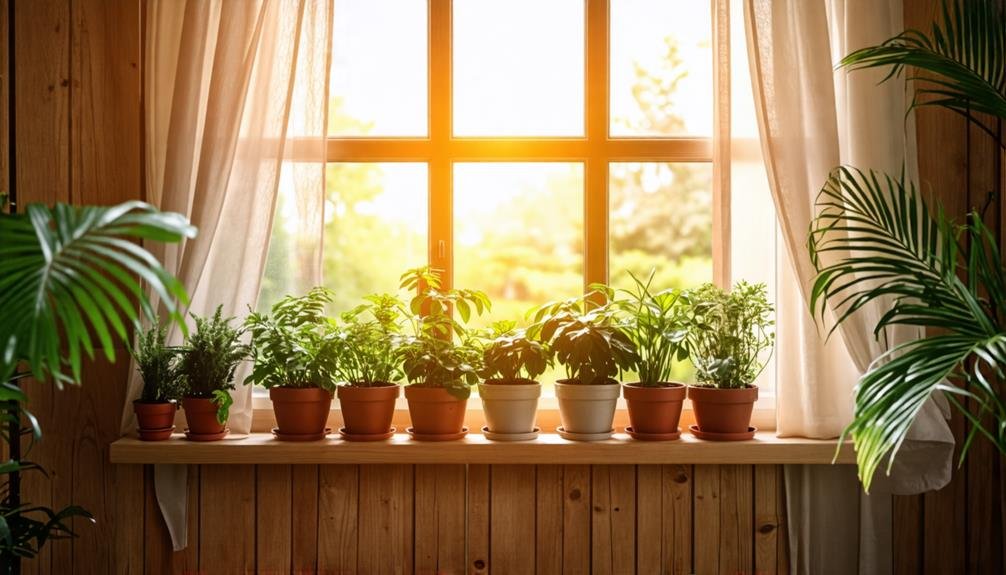
Incorporating various heights and textures is essential for a lively display. Position your propagation pots on shelves, mantels, or window sills, allowing trailing plants like Pothos to cascade elegantly. Additionally, consider grouping plants by type or function. For example, culinary herbs such as basil and rosemary can be clustered in the kitchen, providing both practicality and visual appeal.
Lighting is crucial in highlighting your themed exhibition. Utilize natural sunlight to showcase your plants, or introduce stylish lighting fixtures from brands like West Elm that complement your design. Lastly, remember to add personal touches, such as decorative stones or themed figurines from Etsy, to enhance the overall look. By thoughtfully curating your plant propagation area, you can create a captivating focal point that reflects your unique style while celebrating the beauty of nature.
Maintenance Tips for Healthy Growth
To encourage robust growth in your propagated plants, it's crucial to maintain optimal moisture levels and consistently check root development within the containers. Start by ensuring that the water in your propagation setup, such as a mason jar or propagation station from AquaCulture, is clean and devoid of impurities. Change the water weekly to deter algae formation and supply your plants with fresh nutrients. Additionally, keep a steady water level; excess moisture can cause root rot, while insufficient moisture can impede root growth.
Regularly examine the roots for indicators of health, such as a white or light tan hue, which signifies vitality. If you detect any brown or mushy roots, trim them away using sterilized scissors to stimulate new growth. Ensure your plants receive ample light—preferably indirect sunlight—to promote efficient photosynthesis while avoiding stress.
Fertilize your plants every four to six weeks with a diluted, water-soluble fertilizer like Miracle-Gro to enhance growth. Monitor the overall condition of your cuttings and adjust care as needed to meet their specific requirements. By adhering to these maintenance tips, you will create an environment conducive to thriving, lush, and vibrant plants.
Benefits of Using Dollar Tree Supplies

Using supplies from Dollar Tree provides a cost-effective and versatile option for DIY lovers aiming to design attractive and practical plant propagation stations. The advantages of these affordable materials go beyond just saving money; they also inspire creativity and eco-friendly practices. With a dash of imagination, you can turn ordinary items into eye-catching displays for your plant cuttings.
- Cost-Effectiveness: Dollar Tree products enable individuals to participate in DIY projects without overspending.
- Versatility: The materials are easily adaptable for various aesthetics, whether contemporary, earthy, or whimsical.
- Availability: These items are commonly found in Dollar Tree locations, ensuring easy access for shoppers.
- Eco-Friendliness: Repurposing supplies minimizes waste and supports sustainable practices.

















You must be logged in to post a comment Login